
What is the purpose of a Logo?
April 24th, 2023
What comes to your mind when you think of your fav[...]
The human figure is complex, and to create it in 3D requires a lot of expertise. Artists have a hard time perfecting the details as the human eye can even see the most minor details too. Therefore, it is important to improve your sculpting skills. Adopting a disciplined work culture is also important. Here are some tips you can use to sculpt a 3D figure that looks like a real human being.
Start with blank face
A basic base would help to give your work structure and a point to get started fresh. You can go on to create the essential structural parts of the face such as the cheeks, orbit of the eye, the muzzle of the mouth and horseshoe-like shape of the jaw, and also the dome of the cranial area. The basic structure would, of course, be the same for all humans. If it changes, then you are sculpting a create from a different species, and not a human being.
Move to specifics
Now you need to move on the key facial features of your human. Observe each facial detail with much attention. Make sure the nose is the right size or whether it drops down or lifts up. See if the chin is large, round, small or pointy. The eyes may either be beady or large. Figure out if the face is tall, thin, short or wide. Examine the face shape and check if the front of the face is flat or it projects forward like a pyramid. To achieve this step, you need to use Dam_Standard brush and the Clay Buildup brush. You should aim for a soft generalization which kind of resembles your subject.
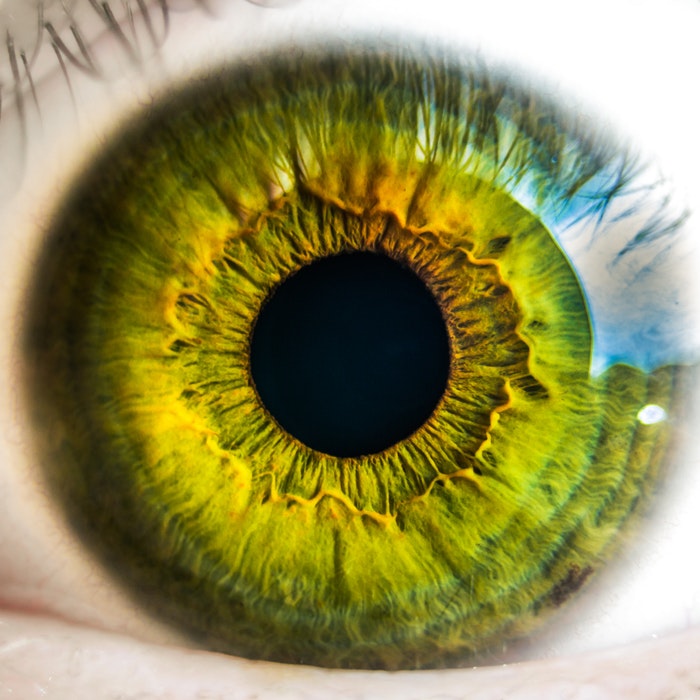
Carefully paint eyes
To bring the level of realism up, make the eyes look real. You can achieve perfection by using simple spheres in ZBrush and painting the iris and pupils in using Polypainting. The best tool to paint the striation in the iris is Alpha 05 and Alpha 34. Do not leave any details out of the eyes, such as the caruncula lacrimalis.
Give character
You need to crawl the face and give it character. Your magic tool in this step would be the Rake brush. Crawl the surface of the model and work to create more structure and specifications on the face.
Add in the pores. You can take the help of Photoshop’s Puppet Warp feature for great results. Then proceed to add wrinkles, if any.
Do the final push and search for more lines to put and half-tones to establish. Just keep in mind to keep the foundations right.
April 24th, 2023

October 30th, 2019

October 24th, 2019

October 15th, 2019

October 9th, 2019